Cleaning your hearing aids properly at home can resolve many sound issues without the need to take them in for repair. When a hearing aid sounds quieter than usual, it is often not faulty; instead, earwax, moisture or dust may be blocking the sound outlet. In fact, many of the urgent appointments we receive can be resolved with a thorough clean that takes just two minutes.
In this guide, we explain how to clean your hearing aids step by step, how often you should do it and which mistakes to avoid so they last longer and continue to sound as good as they did on the first day.
What you need: the basic cleaning kit
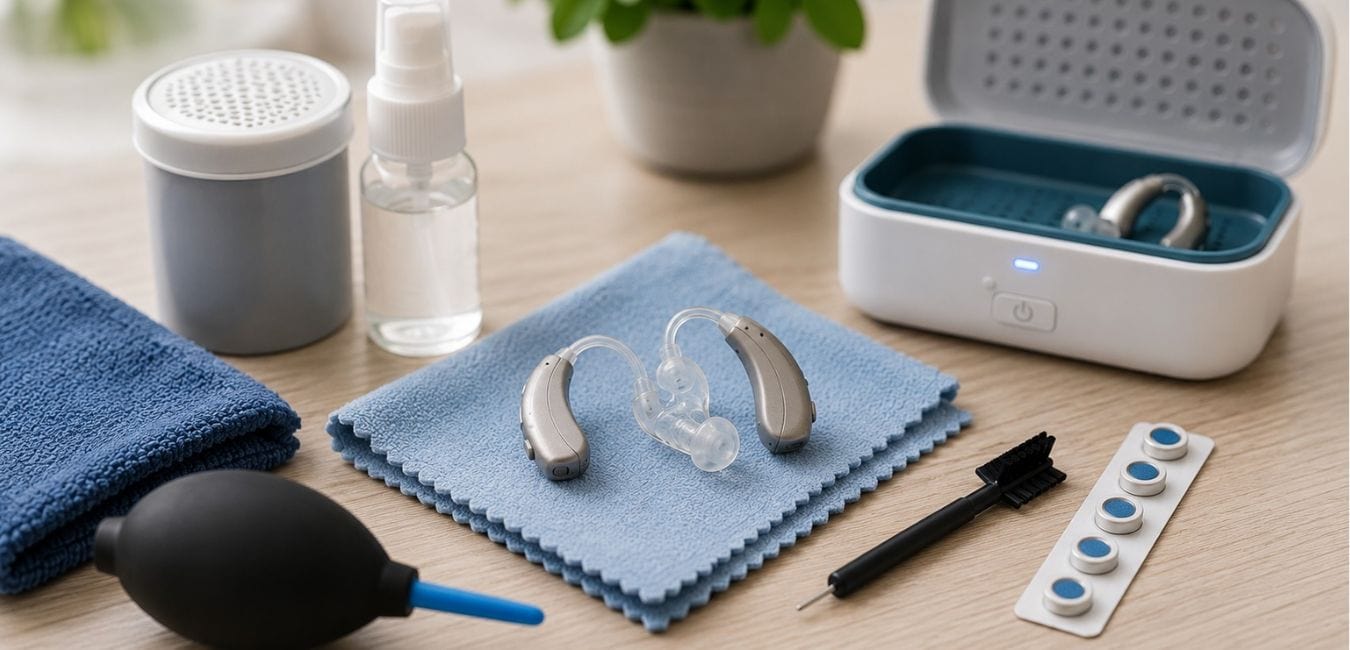
Have these items to hand before you start. Most come with the hearing aid itself, and we can replace them at the centre:
- A dry microfibre cloth (never damp).
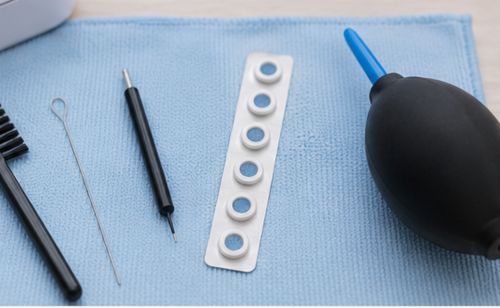
- A soft brush, often with a magnet on the opposite end.
- A cleaning wire or tube tool for the sound outlet.
- Spare wax filters for your exact hearing aid model.
- A dehumidifier: desiccant capsules or an electric drying box.
- An air puffer to blow out tubes and earmoulds.
How to clean your hearing aids step by step
Step 1. Clean hands and a safe surface
Wash and dry your hands thoroughly: finger grease builds up on microphones and charging contacts. Always work at a table over a towel, never over the sink. A drop onto porcelain or down an open drain is one of the most expensive and most common types of damage.
Step 2. Brush the casing and the microphones
Hold the hearing aid face down so debris falls away instead of going in, then brush the casing, the microphone area and, on rechargeable models, the metal charging contacts. Finish with the microfibre cloth. This daily habit alone prevents around 80% of sound problems.
Step 3. Check the sound outlet and the wax filter
This is the critical point. Look at the sound outlet: if you see a plug of dried wax, do not push it inwards. Remove it with the brush, or change the wax filter using the applicator supplied in the pack (one end pulls out the used filter, the other inserts the new one). As a rule of thumb, change it every 4-8 weeks, or sooner if you produce a lot of earwax.
Step 4. Clean the earmould or dome according to your device type
The procedure changes here, so it is worth being clear. If you are not sure which model you wear, this article on the differences between in-the-ear, behind-the-ear and RIC hearing aids will help:
- Behind-the-ear with tube and earmould: you can detach the tube from the hearing aid and wash the mould with warm water and mild soap. Dry it with the air puffer and leave it 12 hours before reassembling. The body of the hearing aid never gets wet.
- RIC (receiver in canal): the silicone dome is cleaned dry or replaced; it must never be immersed, because the receiver is attached and is sensitive electronics.
- In-the-ear, IIC and CIC: the whole device is electronic, so dry cleaning only and close attention to the filter. You can read about their particularities in our guide to invisible IIC and CIC hearing aids.
Step 5. Dry and store them properly
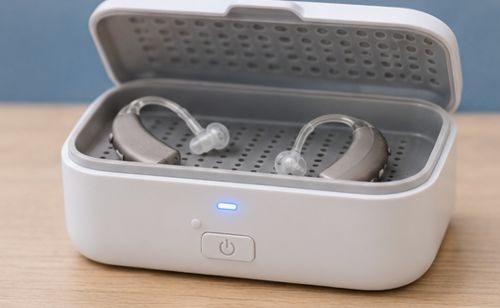
At bedtime, open the battery door (or leave the device in its charger) and place it in the dehumidifier. A night in the drying box is, by far, the habit that extends a hearing aid’s working life the most.
Recommended maintenance schedule
| When | What to do |
|---|---|
| Every day | Brush the casing and microphones, wipe them with a dry cloth and store the hearing aids in the dehumidifier. |
| Every week | Check the sound outlet and clean the dome or earmould carefully. |
| Every 4-8 weeks | Change the wax filter and replace the dome if it has become stiff, damaged or yellowed. |
| Every 6 months | Arrange professional cleaning and an electroacoustic check at the hearing centre. |
| Every year | Have your hearing reviewed and the hearing aid programming fine-tuned when necessary. |
6 mistakes that damage hearing aids
- Getting them wet or using wet wipes. Water gets in through the microphones and receiver.
- Using alcohol, acetone or disinfectants. They dry out the casing and rub off the markings.
- Drying them with a hairdryer, microwave or radiator. Heat warps tubing and damages the electronics.
- Poking sharp objects (needles, cocktail sticks) into the sound outlet or your ear.
- Cleaning them while wearing them: always in your hand, over a soft surface.
- Storing them in the bathroom: the most humid room in the house.
Extra care if you live on the coast
On the Costa Blanca there are two additional enemies: salt and humidity. After a day at the beach or the pool, brush your hearing aids even if they look clean, because salt crystals settle on the microphone mesh. In summer, with perspiration and sun cream in play, the dehumidifier stops being optional. And one simple rule: take the hearing aids out first, then apply cream, hairspray or perfume.
When to visit your hearing centre
Book an appointment if, after cleaning, your hearing aid still sounds quiet or distorted, whistles when you put it in, switches off on its own, or the earmould is cracked or yellowed. And never try to remove an earwax plug from your ear yourself: that needs a professional assessment. Our hearing aid maintenance and repair service covers deep cleaning, filter replacement and electroacoustic testing.
Frequently asked questions
No. Only the earmould of a behind-the-ear device, detached from the tube, can be washed in warm water with mild soap and dried fully for 12 hours.
Every 4 to 8 weeks. If the sound suddenly drops and recovers when you change it, that is a sign you need to do it more often.
Switch them off, remove the battery, dry them with a cloth and leave them 24-48 hours in the dehumidifier. Do not use heat and do not switch them on until then.